Leave the cover dangling by the lanyard, as shown in
view B of figure 5-17. When you remove the candle
cover, do NOT pull the lanyard so that the cotter pin is
removed. The removal of the cotter pin fires the candle,
and the canister starts generating oxygen. If this
happens while the copper-foil seal is intact, internal
pressure in the canister will build up. This pressure will
cause the copper foil seal or the canister seam to rupture.
CANDLE
LANYARD
CANDLE
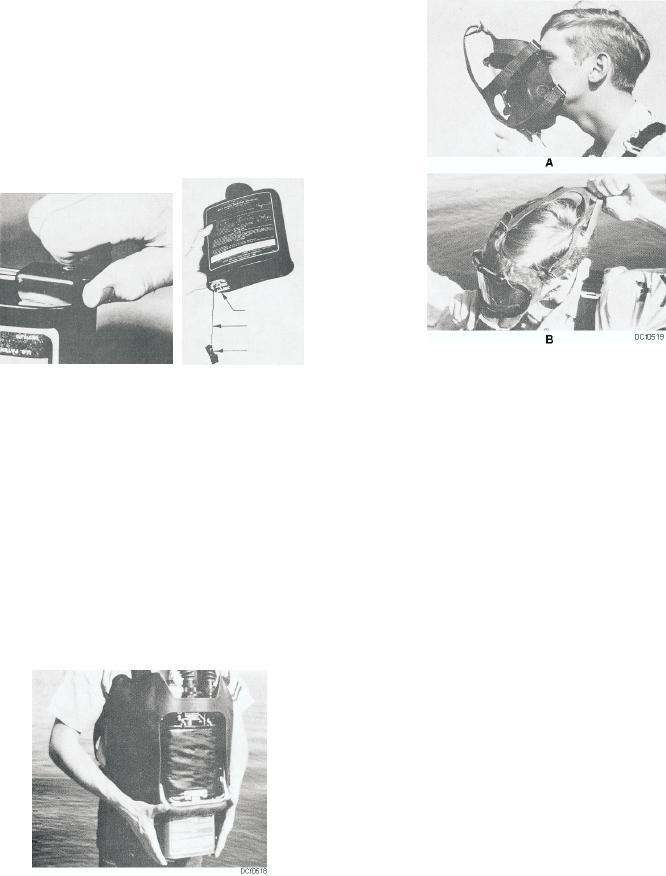
Figure 5-19. Step 6, donning the facepiece, views (A) and (B).
COVER
A
B
DCf0517
Figure 5-17. Removing the candle cover, views (A) and (B).
c. Pull the head straps from the front of the
facepiece over your head (fig. 5-19, view B). Be sure
c. Hold the canister with the neck up and
your hair is not under the facepiece shield.
the concave, or ribbed side, toward your body. Insert
d.
Make sure the straps lie flat against your
the canister upward into the guard and breastplate
head.
assembly (fig. 5-18) until the canister is firmly in
place. The canister is now locked in a standby position
e.
Tighten the lower straps (neck straps) first.
with the copper-foil seal still intact. If the copper-foil
f.
Tighten the side straps.
seal is pierced when the canister is placed in the
g. Place both hands on the head harness pad
standby position, the standby stop will need to be
(on the back of your head) and push it down toward your
adjusted. An OBA that pierces the copper-foil seal in
the standby position is NOT to be used until the
neck.
adjustments are made.
h.
Repeat steps e and f.
i.
Tighten the forehead or front strap, if
needed.
Step 7. Test the facepiece for a good seal by
squeezing the corrugated breathing tubes tightly to
prevent the passage of air (fig. 5-20). Inhale gently so
the facepiece collapses slightly, and hold your breath for
10 seconds. The facepiece will remain collapsed while
your breath is held if the assembly is gas tight. If you
detect any leakage around the face seal, readjust your
Figure 5-18. Inserting the canister.
head harness straps. If you detect other than face-seal
leakage, investigate the condition and correct it. You
Step 6.
Don and adjust the facepiece as follows:
MUST test the facepiece for a seal before each use.
a. Place the head harness straps over the
Step 8. Make final adjustments on all four body
front of the facepiece.
harness straps. You should be able to look up or down
b. Insert your chin into the chin stop of the
without having the facepiece shift or catch on the timer
facepiece (fig. 5-19, view A).
or the main valve housing.
5-9

