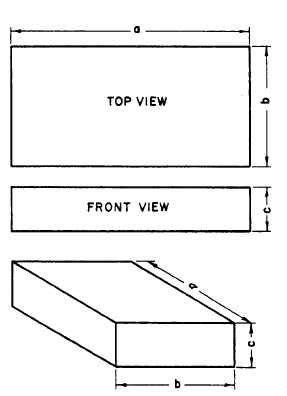
Figure 5-51.-Cabinet projection. Distances along front axis
are true; distances along receding axis are reduced by
one half.
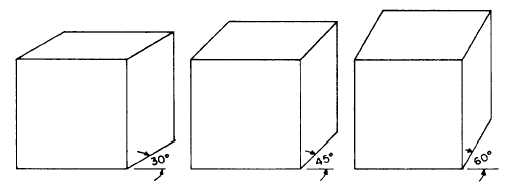
60 degrees because they are easily constructed with
triangles (fig. 5-52).
IRREGULAR LINES.— An irregular line in
an oblique drawing is a line that would be an
oblique line in a normal multi-view projection.
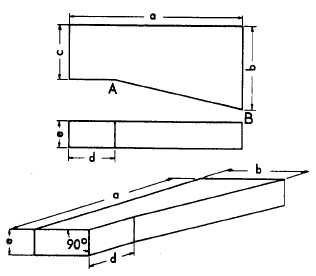
In the upperpart of figure 5-53, there is a
Figure 5-53.-Cavalier projection of an object with irregular
lines.
two-view multi-view projection of a block; the line
AB is an irregular line and will not appear in its
true length in an oblique projection. To transfer
the line, you draw the projection by transferring
measurements taken along regular lines; these
measurements locate the end points of the
irregular line. Figure 5-53 shows the cavalier
projection of an irregular line. The procedure for
cabinet projection would be the same except that
all measurements along the receding axis would
be reduced by one half.
ANGLES IN OBLIQUE.— In an oblique
projection, an angle on the surface that is parallel
to the plane of projection will appear in its true
Figure 5-52.-Angles of 30 degrees, 45 degrees, and 60 degrees are normally chosen for the receding axis in oblique
projection because they are easily drawn with triangles.
.
5-27

