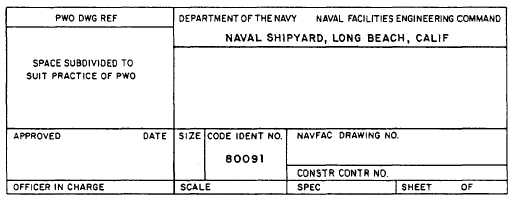
Figure 3-20.-Example of a title block prepared by an activity not requiring NAVFACENGCOM approval.
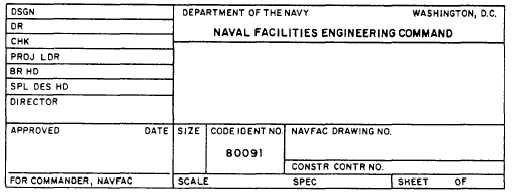
Figure 3-21.-Example of a title block used on drawings prepared by NAVFACENGCOM.
@ Scale. This space is reserved for the
scale to which the drawing is prepared. When
more than one scale is used on the drawing, the
words AS SHOWN or AS NOTED are entered
after the word SCALE in the space @. If the
drawing was not to scale, the word NONE is
entered.
@ Specification number. On drawings that
are prepared for or by NAVFACENGCOM,
this space is reserved for the project specifi-
cation or contract number. If the drawing does
not pertain to a particular project specification
or contract, this space will normally be left
blank.
@ Sheet number. On a single construction
drawing, SHEET 1 of 1 will be entered in this
space. For numbering of second and subsequent
sheets in a multiple-sheet drawing (fig. 3-18, view
C), similar drawing numbers appear in both basic
and continuation sheet title blocks; however, the
total sheet number is entered on sheet 1 while
the specific sheet number is entered on each
subsequent sheet.
Satisfactory To Block
In addition to spaces @ and @ on the title
block, which are provided for approval signatures,
a second SATISFACTORY TO block may be
required when an outside activity requests a
drawing. The extra SATISFACTORY TO block
is identical to the SATISFACTORY TO space in
the title block but is located adjacent to title block
space @.
Revision Block
A REVISION block contains a list of all
revisions made to the drawing. On construction
drawings, the revision block is placed in the
upper right-hand corner. Basically, all revision
blocks provide the same information; only the
3-17


